
If you store data in your sharepoint lists which should only be accessible by specified users you can use the item permissions. But if you have to do it manually for each item, your endusers won’t be amused. So i’d like to share a possiblity how you can do it automatically. Your enduser only has to fill a field which person should have (in my example Read) permissions on this item.
Workflow to set permissions based on input
It is an easy small example which you can use as basic for further enhancements.
Here is the example:
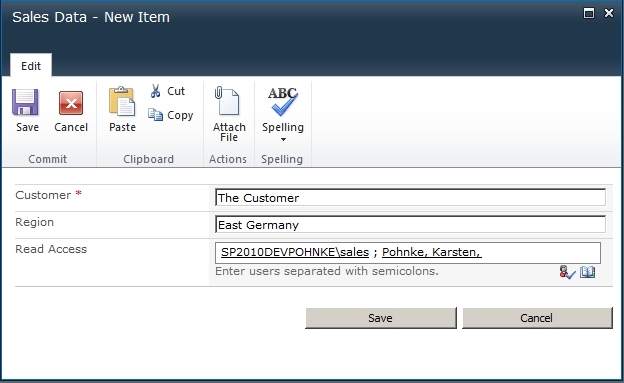
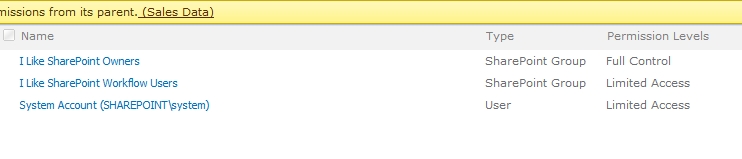
Your enduser inserts the data and set the person sales and me to read access. In the normal way the security for the item looks like this:
But after my workflow finished it will look like this:
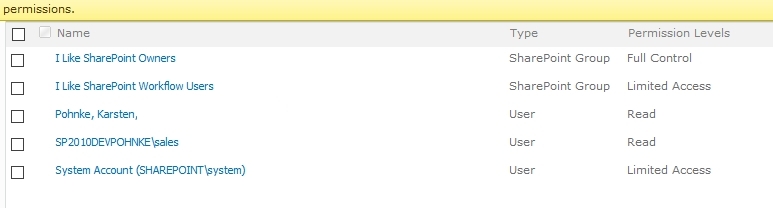
As you can see me and Mr. Sales were added with Read permissions and the item has unique permissions. That’s looks really easy for your enduser and in the next steps i’ll show you that it is also easy for you.
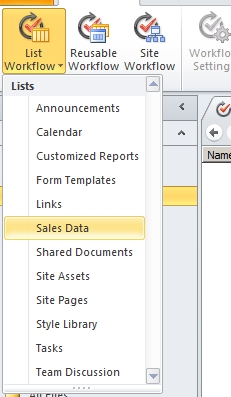
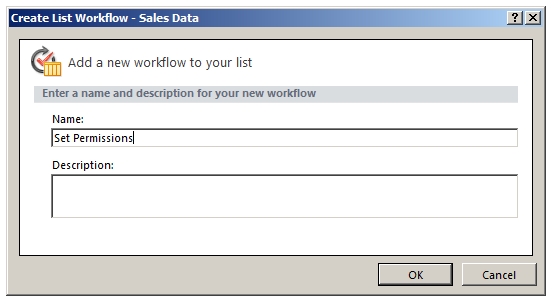
Step 1: Create a workflow for your list – in my example it’s Sales Data
Then we add a name and a description (or not)
Step 2: Add an Impersonation Step and delete the default one
First add a new step called Impersonation step, then delete the old one. That’s because the enduser may not have permissions to change the permissions. In that case the step is running with credentials from the author of the workflow.

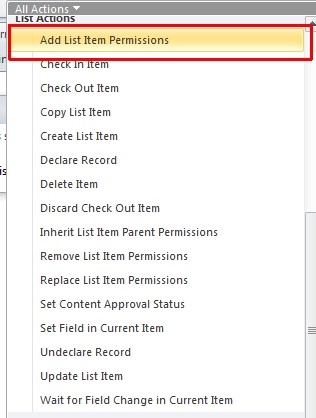
Step 3: Add Action “Add List Item Permissions”
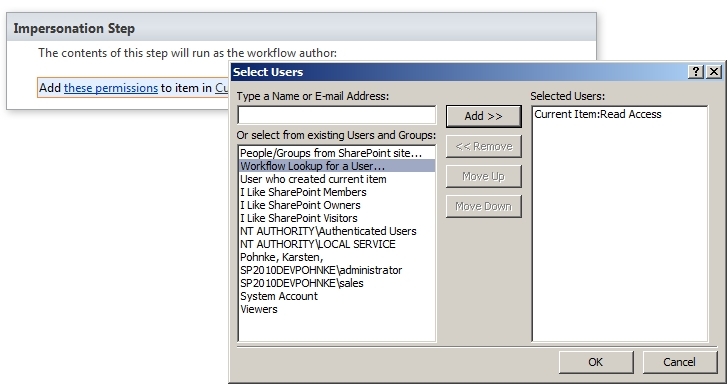
Step 4: Configure the permissions:
Set the item as current item and the add permissions.
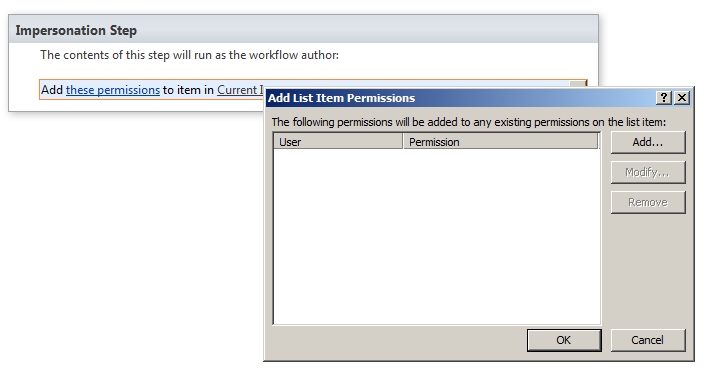
Click on add.
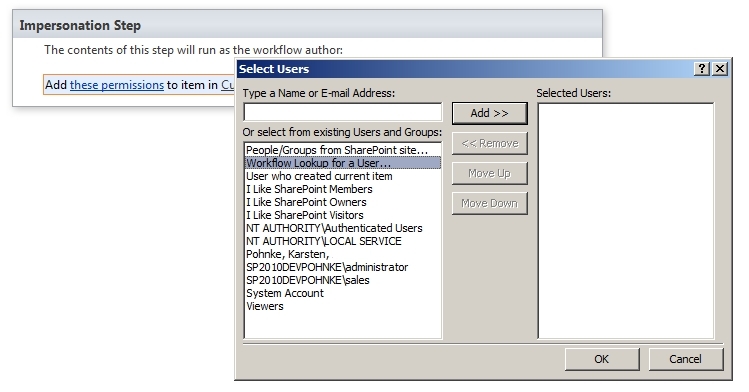
Use Workflow Lookup for a User… there you can choose from which field it should look up the username.
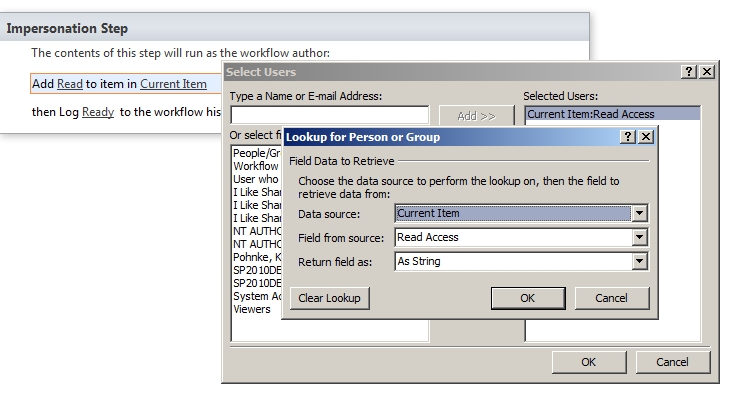
The usernames come from this item of the field Read Access. Important here is to return the field as “As String”!
Step 5: Publish and Test
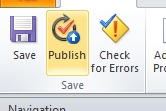
After publishing you can start the workflow on your item and see the results.

After your workflow finished you should get the same result as the screens at the top of this post. It makes sense to let the workflow start automatically.
Extra Tip
If it also starts if item is changed, maybe you have to insert the step “Inherit parent permissions”. This trick helps if someone changed the user in the field. With inherit parent permissions it will be set like it was at creation time, after that it will set the new permissions.
Hope you like it.
..:: I LIKE SHAREPOINT ::..
Leave a Reply