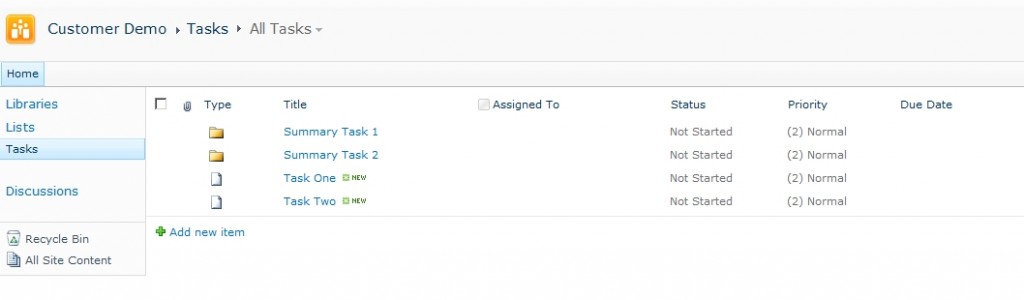
This solution offers your users to move list items between any folder from content type “Folder Content Types”.
Can be downloaded from here: http://itemmover.codeplex.com/
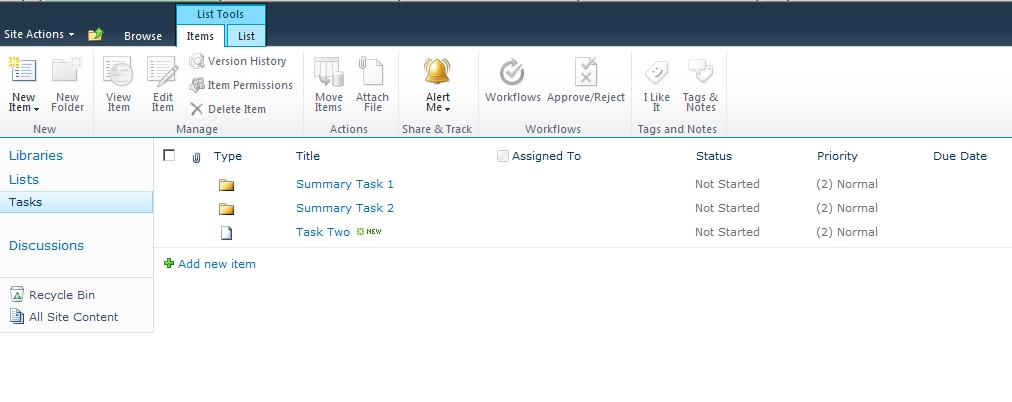
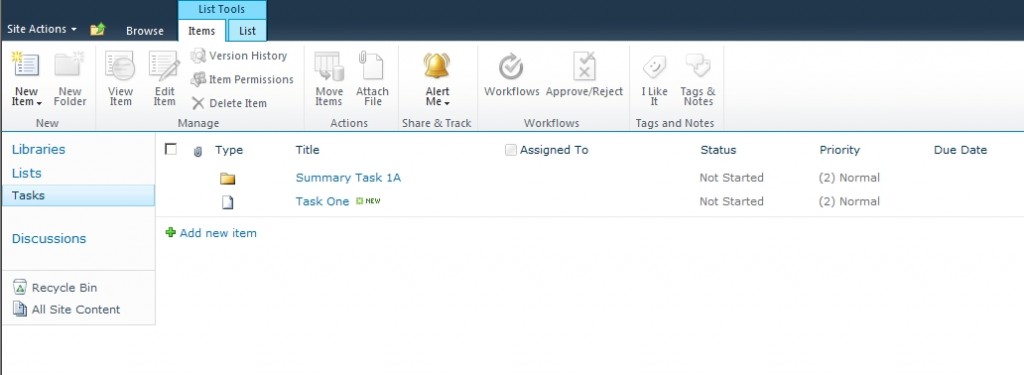
For example if you are using a task list, discussion list or even a custom list which includes content types as summary task, folder content types which you created by yourself or discussion. It does not delete the item but simple change the path where it should be available. It doesn’t matter how many subfolders you have.
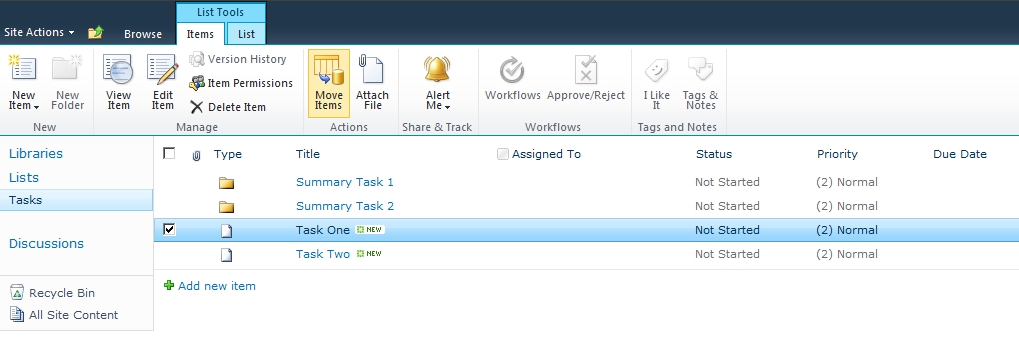
This is not possible with the SharePoint features out of the box. The solution provides an easy user interface and is multilingual. It is only available if you have at least edit permissions as well as that you have selected items and not folders. It is working with standard lists, custom lists, standard content types and your custom content types based on the folder content type.
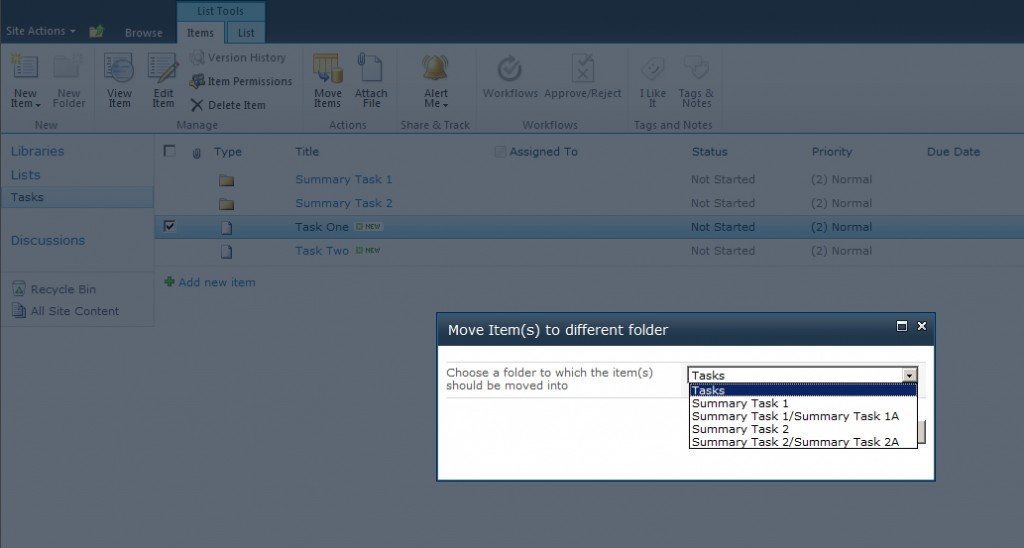
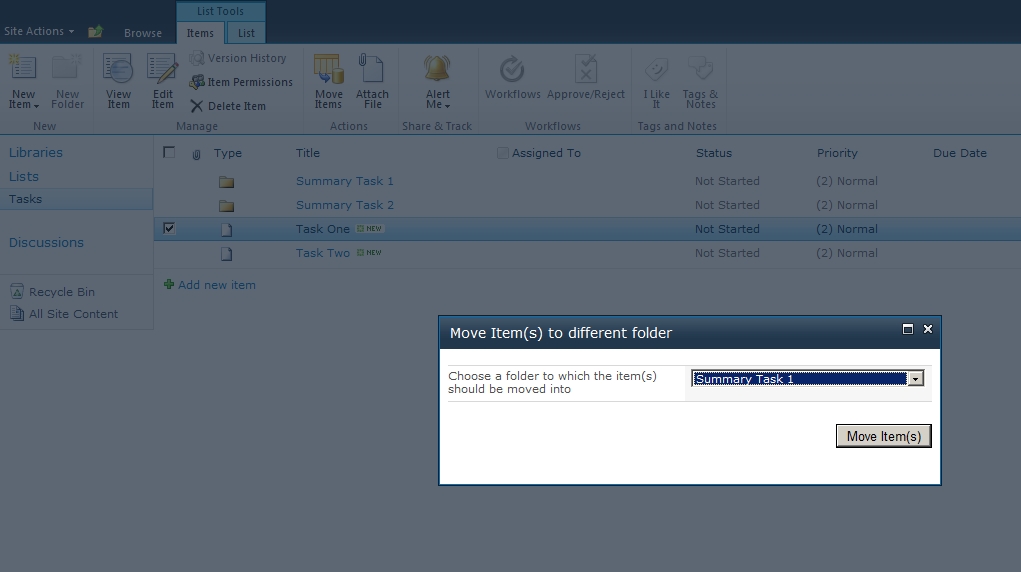
It doesn’t matter how many folders and subfolders you are using. You can move one or more items at once to a target folder. It makes updates to the item, but you don’t see the update in the versions.
Features:
- multilingual – It uses resource files for english and german by default
- Validation – It checks wether the user selected a folder or an item and if the user has edit permissions on item
- Subfolders – It displays all folders as target which are in the current list available with a breadcrumb
- Integration – It is seamless integrated in the UI of the SharePoint Ribbon
- Installation – It is simple to install
- Activation – Cause it is web scoped it can be activated and deactivated at each site
- Easy – It is easy to use
Installation:
You can download the .wsp solution file and use stsadm or Powershell to deploy it on your SharePoint 2010 Server.
Save it on your hard disk of your SharePoint Server, e.g. below c:\install
Below you’ll find the Powershell script to deploy it.
[sourcecode language=”xml”]
Add-PSSnapin Microsoft.SharePoint.Powershell -ErrorAction SilentlyContinue
Add-SPSolution “C:\Install\MoveItemBetweenFolders.wsp”
Install-SPSolution -Identity MoveItemBetweenFolders.wsp -GacDeployment
[/sourcecode]
After deployment you should activate the feature at the desired web.
![]()
Demo step by step:
Watch this video:
Download: http://itemmover.codeplex.com/
Disclaimer:
You can use it for free. It is recommended to test the solution in the lab, before making use in the production environment & use it completely at your own risk. The solution is provided AS-IS with no warranties or guarantees and confers no rights.
..:: I like SharePoint ::..
hi
first thanks you so much for your content and effort just a question ,after deploy , activefecher only in central admin option and can not active for web application, no any option to active
i have tried tried it. the custom list donot runed it . it just runned on task i want it run on custom lists