In this post serie i would like to share my experience with custom list forms in SharePoint 2010 and 2013. Normally you start a visual studio solution with a list definition and a list instance. These posts will show you step by step to add a custom list form which will work fine even with code behind.
Part 1: Setting up a solution with a list definition, a list instance and deploy it.
Part 2: Creating a custom list form and connect it with the list definition.
Part 3: Necessary settings for custom listform in Visual Studio
Well, at first let’s ask ourselve why should we create a custom list form? In fact, SharePoint provides lots of features. But often you business process needs steps which are not covered by out-of-the-box functionality. Examples:
- Cascading Dropdowns
- Fetching Data from another source like Databases, CRM, different SharePoint lists
- Send data to different sources (Databases, CRM, SAP, different SharePoint lists)
- using Webservices inside your form
- dependent display on user permissions
- …
I guess you know some more reasons and because you’re still reading my post i am sure you have a reason why to develop a custom form.
In this part we cover the basics – we setup our visual studio solution and add a list definition and a list instance.
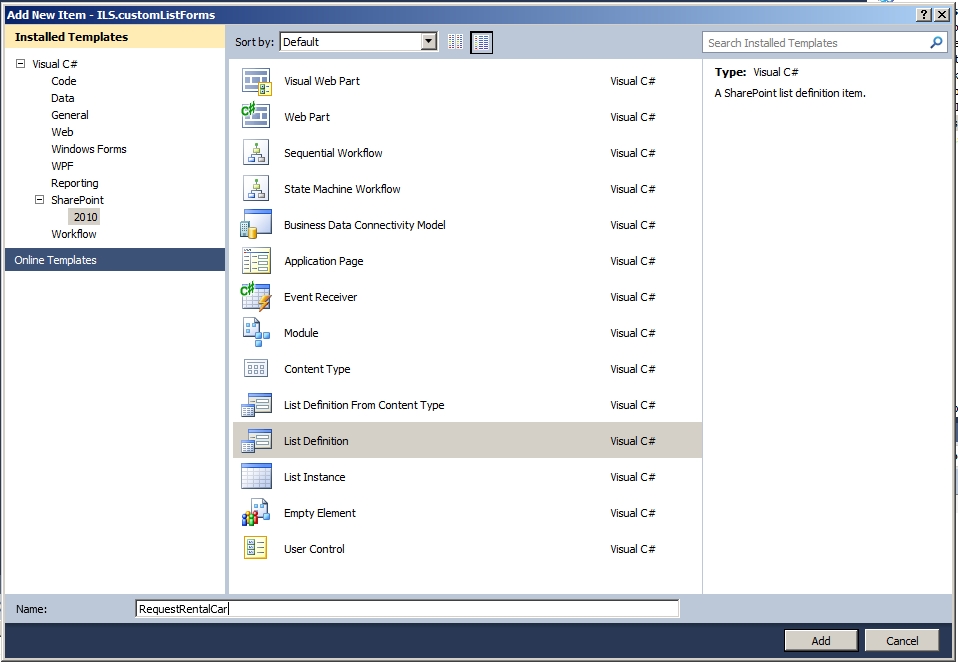
Step 1: Add a list definition
I created an empty SharePoint Solution with a mapped folder to _layouts and a folder named lists. In this folder Lists i added a new item from type list definition and call it RequestRentalCar. I used basetype custom list.
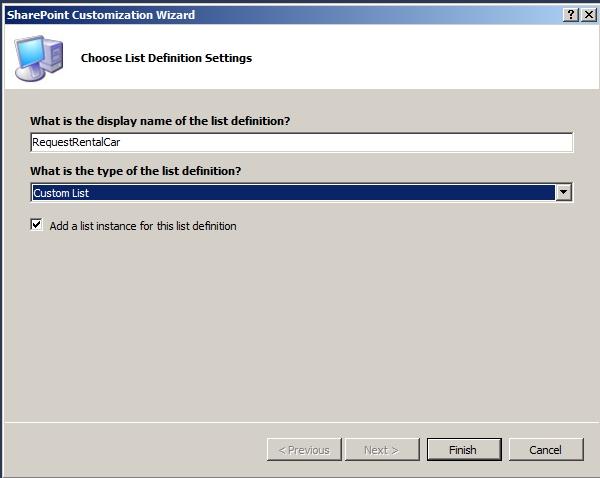
Step 2: Additional add a list instance
I also have checked to create a list instance, which i renamed afterwords.
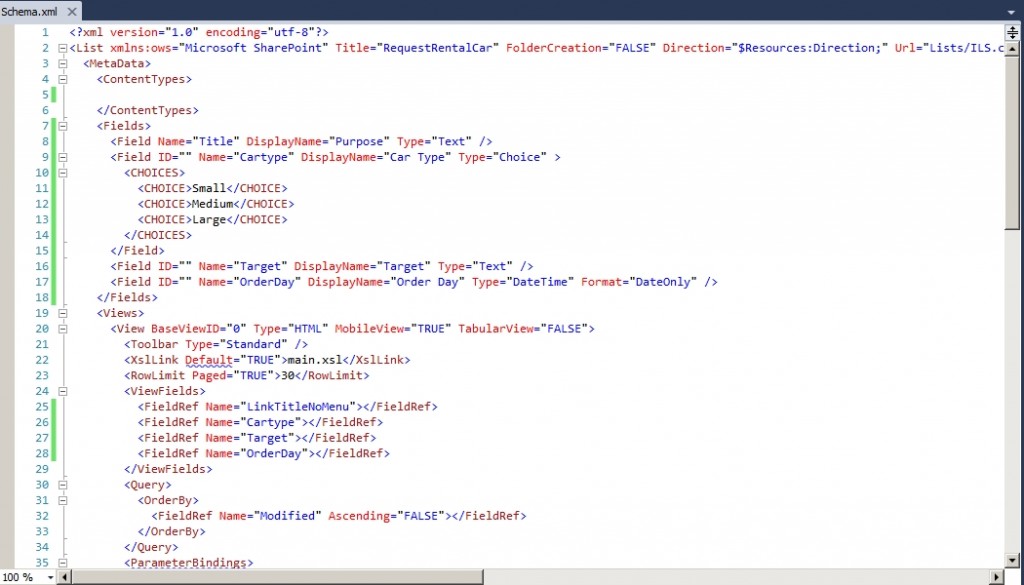
Step 3: Add some fields to list schema
I removed the content types and added some fields to the fields nodes. I also added those fields to the viewfields section.
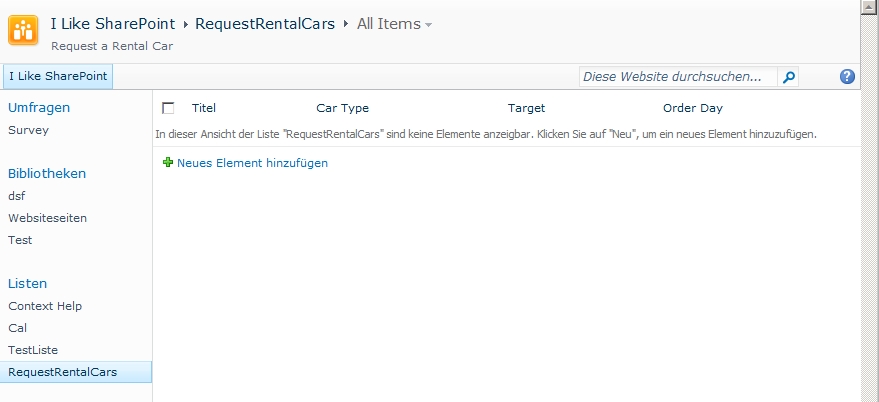
Step 4: Deploy it and look at your list.
The results of listview
The results of display form

Ok, our list is deployed now. Lets go on with part 2.
..:: I LIKE SHAREPOINT ::..
Leave a Reply
You must be logged in to post a comment.