I am sure you experience exactly this situation if you have used a workspace in SharePoint. Creating a meeting workspace works great.
You can use this meeting workspace for multiple events or for a series of events. If you use the meeting workspace for several events, you have a menu on the left side to choose the event and its entries in agenda, objectives or documents. In the calendar each event has a link to exactly this meeting workspace, so you get there from each event.
But what is about the document workspace? You can use these document workspaces in each list. Normally you use these workspaces in a document library. For example if you have project request list, you can use the document workspace to collaborate and communicate on this project request in this special subsite. Right, it behaves like a subsite, it will be displayed like a subsite in the all site content. But you are acting in the document library. So you can open the item menu (of any document) and click on “send to” and create a document workspace – a special workspace for this project request.
Now the big thing: If you now go to your library you won’t find a link to your newly created workspace. It’s not in the item menu and not in the ribbon, nowhere! This is not user friendly, right? Where should you look for the workspace? Do you need a hyperlink list where you list these workspaces manually? I can’t imagine that any user would like to manage these workspaces by hand.
So what to do now? Wait for SharePoint 15 and hoping it’s getting better? Well, let me show you one possible solution to this problem. This solution uses Nintex Workflows 2010, which i installed as test version. You can use the testversion for 30 days. I don’t know exactly if it’s possible to use also SharePoint Designer, but if you got it that way, let me know.
What we are going to do is to create a workflow with Nintex which occures at item creation time. This workflow creates a subsite using a workspace template and automatically saves the link to the workspace in the list. In my example i am using a simple list.
Step 1: Create a Site Column at site level from type URL and call it document workspace
Step 2: Create a library for documents or a custom list. It works the same.
Step 3: Add an existing Column to the library – the one you created in step 1.
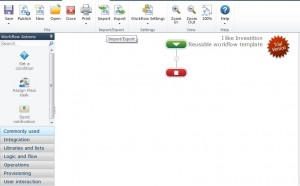
Step 4: Create a reusable Workflow template with Nintex and give it a name.
Step 5: Add the URL Column in the workflow
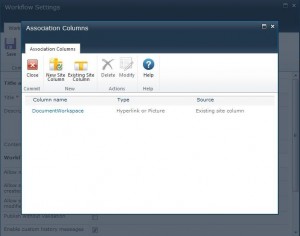
Open the Workflow Settings and click on Association Columns. Then choose existing site columns and check your created column from step 1.
Step 6: Create workflow variables
Open Workflow Settings – workflow variables and add a new one. Call it DocumentWorkspaceLink from type text.
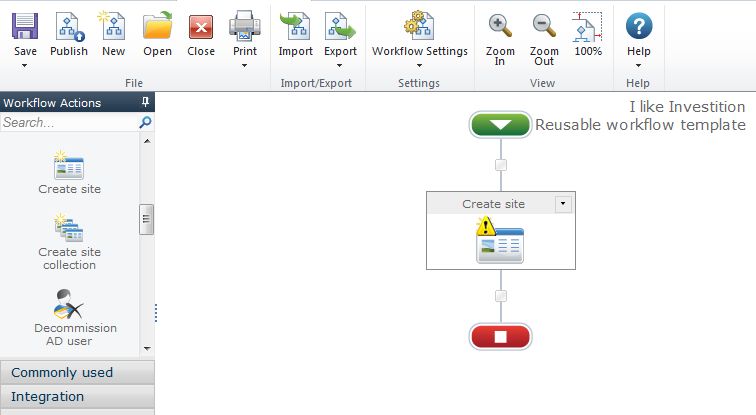
Step 7: Add an Action to the workflow – Add Create Site (below Provisioning)
Click on the arrow and choose configuration:
Set title as title of the current item, choose a description and select the parent site for the document workspace. Then choose a url for the document (e.g. the title of the list item in which you are), select the template and then we come to the important point:
Store the URL in your workflow variable DocumentWorkspaceLink! We will need it in the next step!
Step 8: Add a new Action to the workflow – Add Update Item (below Libriaries and Lists)
Again configure this action. Choose the current item and then choose the column DocumentWorkspace. Important is to set the value right. We want to store our documentworkspace url there but in a nice way.
Cause it is a hyperlinkfield we need to do the following:
Web URL/DocumentWorkspaceLink, Go to Workspace
Web URL is listed below common variables and the document workspace link below your own variables.
Step 9: Save and Publish your workflow
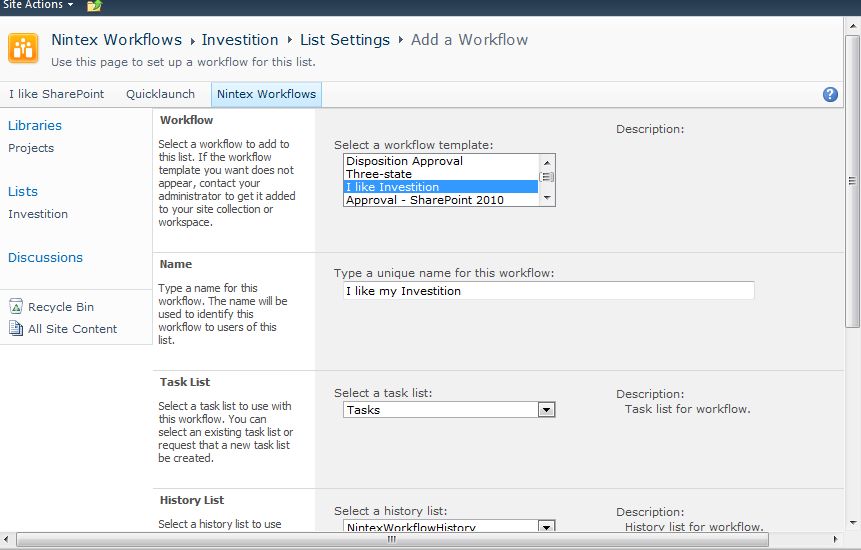
Step 10: Add the workflow to your list
Below list settings – workflows you can add an existing workflow, make the necessary settings and ready.
Step 11: Make your entry and start the workflow
Step 12: Look at your result
The List:
The all site content:
So hope this helps you and you like this solution as i do.
..:: I LIKE SHAREPOINT ::..


Leave a Reply